Getting Started
Sliced Invoices Getting Started Guide
Once you have installed the Sliced Invoices plugin, follow the steps below to get the plugin set up and to start creating quotes and invoices. We won’t cover every detail of the plugin in this Getting Started guide, this will simply be a quick look at how to get up and running quickly.
Jump to section:
- Configure Settings
- Create a Quote
- Convert Quote to Invoice
- Create an Invoice
- Getting Paid
- Using Extensions
1. Configure Settings
 The very first thing to do is configure the settings for the plugin.
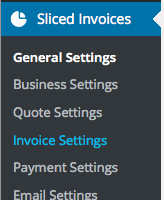
Navigate to Sliced Invoices –> General Settings, fill in the fields and then hit the Save button. Navigate through the rest of the settings pages via the tabs at the top. You should visit each settings page to properly set up the plugin to your liking.
2. Create a Quote
- Title – Enter a title for your Quote. After you enter a title, you’ll see the permalink below it, which you can edit. The title is not visible to your client on the Quote, it is only used in your admin area.
- Description – An optional field to add a description to the Quote.
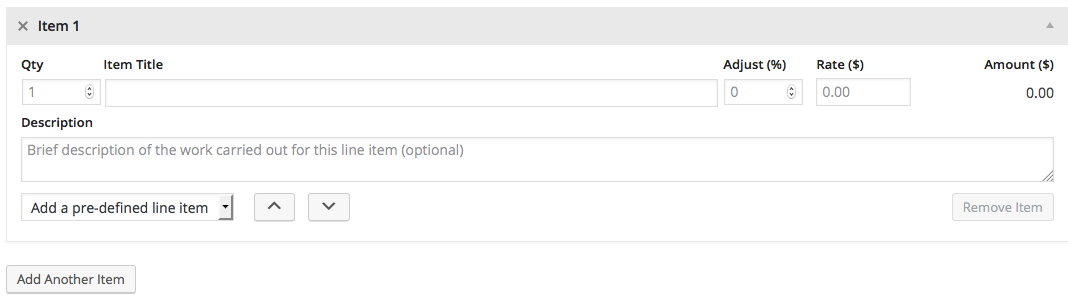
- Line Items are grouped and labelled per Item #. Each line item group contains 5 fields, with Qty and Rate being the only required fields.
- Qty – Add the quantity of your line item in this field.
- Title – Add a title for this line item.
- Adjust – This can be used as an extra Tax field by adding a positive number, or as a discount field by adding a negative number. The line item amount will be adjusted by the number (in percentage %) that is input into this field.
- Rate – Add the rate or price of your line item in this field.
- Description — You can add a description to each line item in this field.
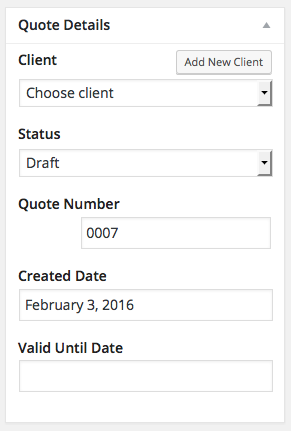
- Client – Choose the client or click on the Add New Client button to add a new client. Once added, the client will immediately appear in the dropdown for you to choose.
- Status – Choose the status of your quote.
- Quote Number – The prefix that is set in Sliced Invoices –> Quotes is automatically added to the front of the number. If you have auto increment setup, then the next number should appear in this field.
- Created Date – This field is required.
3. Convert a Quote to an Invoice
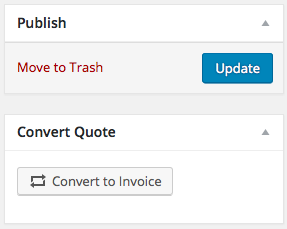
- Ensure that any changes you have made to the quote are saved by hitting the Update button.
- Simply click the Convert to Invoice button and your quote will automatically be converted to an invoice.
4. Creating an Invoice
Creating an invoice is exactly the same procedure as creating a quote. Please see the Create a Quote instructions above.
5. Getting Paid
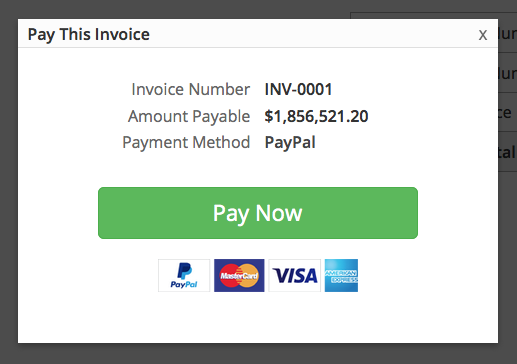 You will need to send a link to the invoice to your client and they can then either pay online with PayPal or use the payment methods you have chosen to list on the invoice.
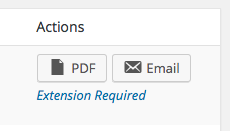
To be able to PDF an invoice or send clients an invoice/quote directly, you can install the PDF & Emails extension.
6. Using Extensions
 Extensions provide further functionality to the Sliced Invoices plugin and allow you to create recurring invoices, create deposit invoices, create PDF invoices, send emails with invoices attached, translate text on the invoice/quote and plenty more.
Check out the extensions that are currently available.